Discover expert advice on adjusting your LiftMaster garage door opener for optimal performance, safety, and reliability.
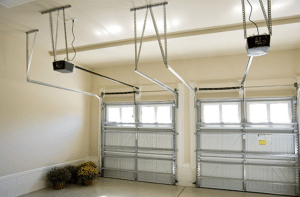
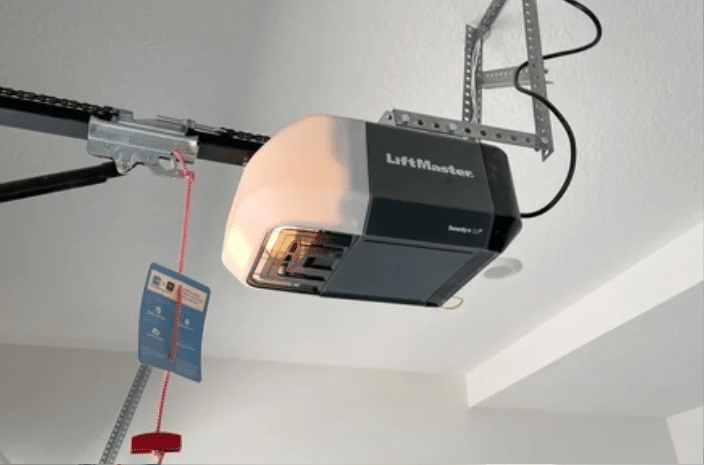
Garage door openers are responsible for the safe, consistent operation of one of your home’s most-used entryways. If you’re using a LiftMaster model, occasional adjustments may be required to fine-tune performance, especially as components age or shift.
Whether your door is not closing all the way or stops halfway through the opening cycle, adjusting a LiftMaster garage door opener could be the solution. Understanding how and when to make these changes can prevent larger issues and improve the longevity of the system.
This guide offers expert-backed advice for adjusting a LiftMaster garage door opener, emphasizing safety, proper method, and when it’s time to call a professional.
When You Should Consider Adjusting a LiftMaster Garage Door Opener
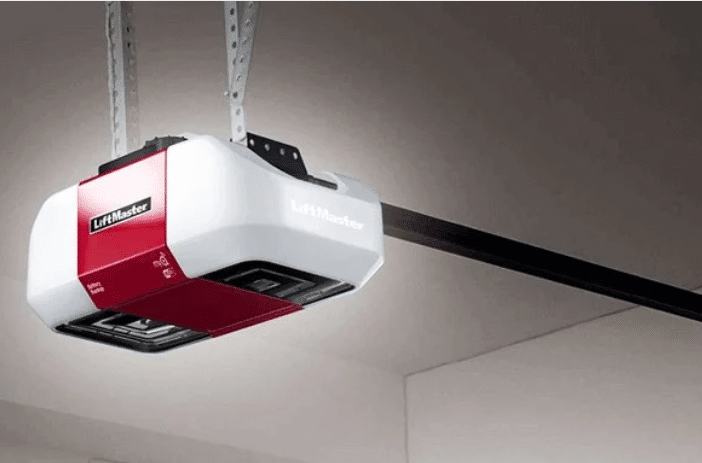
Garage door openers like those from LiftMaster are designed to operate smoothly and safely. However, minor issues that indicate your opener may need adjustment can arise over time. Recognizing the signs early and making necessary corrections can prevent damage, improve performance, and extend the life of your system.
Signs Your LiftMaster Opener Needs Adjustment
It’s important to pay attention to unusual behavior from your garage door. Here are common signs that your LiftMaster opener may require adjustment:
- Garage Door Reverses Before Closing: If your door begins to close but reverses unexpectedly, it may be due to incorrect force settings or misaligned safety sensors.
- Door Doesn’t Close Completely: When the door stops short of closing, it could be a sign that the travel limits need to be adjusted.
- Door Opens Partially, Then Stops: A door that fails to open fully may point to an issue with the up-travel limit or an obstruction being detected.
- Noisy Operation or Jerky Movement: Grinding sounds, sudden stops, or shaking can indicate the door is off track or that the opener settings aren’t appropriately calibrated.
- Wall Control or Remote Inconsistencies: If your wall switch or remote operates intermittently, it may not be a power issue—it could be an adjustment problem affecting signal or motor response.
Why Adjustments Matter
Proper adjustments are essential for the safe and efficient operation of your LiftMaster garage door opener. Even small misalignments can have significant impacts on performance and safety:
- Enhanced Safety: Incorrect settings may cause the door to close too forcefully or not reverse properly when something is in its path, posing safety risks.
- Reliable Functionality: Fine-tuning the opener ensures it responds correctly to remote controls, wall buttons, and sensor inputs, minimizing frustration and malfunction.
- Complete Door Movement: Accurate travel limits allow the door to open and close fully, keeping your garage secure and weather-protected.
- Reduced Wear and Tear: Smooth, balanced motion reduces strain on the opener’s motor, springs, and tracks, extending the lifespan of the entire system.
Key Components You May Need to Adjust
Travel Limits
Travel limits control how far the garage door moves when opening or closing. You may need to adjust these settings if the door doesn’t touch the floor or hits the opener stop too early.
Function: Ensures the door opens and closes to the correct position.
Force Settings
Force settings determine how much power the opener uses to move the door. If the door reverses or struggles to open, tweaking this may help.
Function: Prevents unnecessary strain on the opener and keeps the door operating smoothly.
Safety Sensors
If your door won’t close or keeps reversing, sensor alignment could be an issue. While not technically an adjustment to the opener unit itself, it’s a common problem area.
Function: Ensures objects or people are not in the door’s path when closing.
How to Adjust a LiftMaster Garage Door Opener Safely
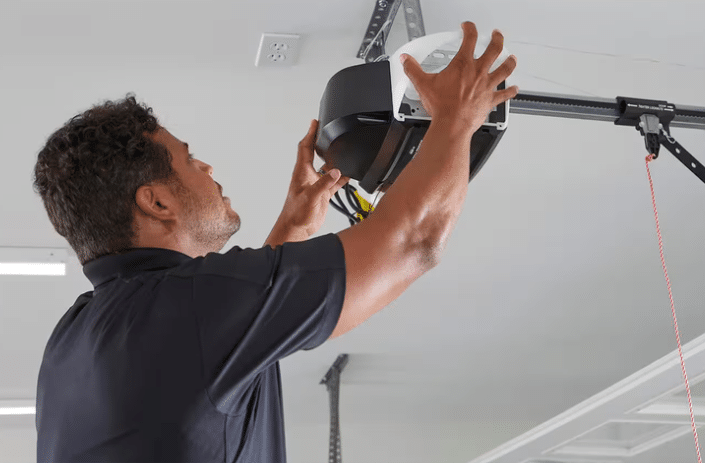
Adjusting your LiftMaster garage door opener can solve many common issues, but following safety precautions and proper procedures to avoid injury or equipment damage is essential.
Safety First: What to Do Before You Begin
Before performing any adjustments, make sure you’re prepared and protected:
- Disconnect the Power: Unplug the opener from the power outlet to prevent accidental activation during adjustments.
- Never Adjust Torsion Springs: Torsion springs are under extreme tension and can be dangerous. Only qualified professionals should handle spring adjustments or replacements.
- Use Proper Equipment: Always use a sturdy ladder on level ground. Wear safety glasses to protect your eyes from dust or debris.
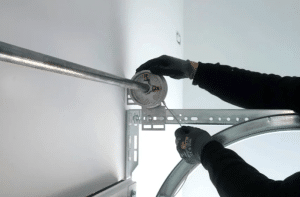
Step-by-Step Travel Limit Adjustment
Travel limits control how far the garage door moves during opening and closing. Adjusting the travel limits may resolve the issue if your door doesn’t fully open or close.
- Locate the Travel Adjustment Screws
Most LiftMaster models are labeled “Up” and “Down” and are found on the side or back of the motor housing.
- Adjust the Up Travel
- Turn the Up screw clockwise to reduce how far the door opens.
- Turn it counterclockwise to increase the opening height.
- Turn the Up screw clockwise to reduce how far the door opens.
- Adjust the Down Travel
- Turn the Down screw clockwise to shorten the closing distance.
- Turn it counterclockwise to allow the door to close further.
- Turn the Down screw clockwise to shorten the closing distance.
- Test the Door
Reconnect the power and use the remote or wall button to test the door. Make minor adjustments until the door opens and closes completely without reversing.
Step-by-Step Force Adjustment
Force settings control the motor’s power to open and close the door. Incorrect force settings can cause the door to stop, reverse, or not operate.
- Locate the Force Adjustment Knobs
These are usually located near the travel screws and may be labeled “Up Force” and “Down Force.”
- Increase the Up Force
If the door struggles to open or stops midway, turn the Up Force knob slightly clockwise.
- Increase the Down Force
If the door reverses before touching the ground, turn the Down Force knob slightly clockwise.
- Test After Each Adjustment
Always test the full operation after any change. Adjust gradually to avoid setting the force too high, which can reduce safety.
Sensor Alignment Tips
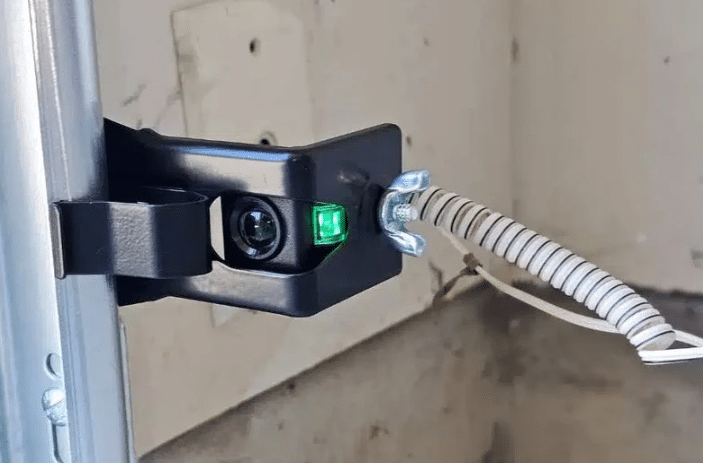
Misaligned or dirty safety sensors commonly cause garage doors to not close properly.
- Look for Indicator Lights
Each sensor should have a small LED light. The alignment is likely off if one or both are blinking or off.
- Clean the Sensor Lenses
Dust or cobwebs can block the beam. Gently clean both lenses with a soft cloth.
- Realign the Sensors
Loosen the sensor bracket and adjust the angle until both lights remain solid (not blinking).
- Secure the Brackets
Once aligned, tighten the brackets to prevent movement during door operation.
When to Call a Professional
If you’re unsure how to properly adjust your LiftMaster garage door opener or if your efforts haven’t resolved the issue, it’s best to contact a qualified professional. Problems like electrical malfunctions, motor damage, misaligned springs, or faulty sensors can be complex and dangerous if handled incorrectly. Attempting DIY fixes in these cases can lead to injury or further damage to your garage door system.
For fast, reliable, and expert service, trust the professionals at Roadrunner Garage Doors. With years of experience and a reputation for quality workmanship, our team is equipped to handle any garage door issue, big or small. Don’t take unnecessary risks with your safety or your property. Contact us today and let us get your garage door working like new.
Frequently Asked Questions
How do I program my LiftMaster garage opener?
To program your LiftMaster garage door opener, press the “Learn” button on the motor unit until the LED light turns on. Then press the button on your remote within 30 seconds to sync it. The opener light will blink, or you’ll hear a click to confirm programming.
How to program a LiftMaster garage door opener without the learn button?
If your opener doesn’t have a visible “Learn” button, it may be under a light cover or panel. Once found, follow the same process: press the button and the remote. If there’s truly no button, your model may require DIP switch programming or may not be programmable manually.
How do you reset a LiftMaster garage door opener?
To reset, unplug the opener for about 30 seconds and then plug it back in. You can also clear all remotes by holding the “Learn” button for 6–10 seconds until the LED goes out. Reprogram remotes after resetting them to work again.
How do I adjust my LiftMaster garage door opener?
To adjust your opener, locate the up and down travel or force adjustment screws usually on the side of the unit. Turn the screws slightly to increase or decrease the opening and closing travel. Always test the door after each adjustment to ensure smooth operation.
How to adjust the force on a garage door opener with manual adjustment screws?
Find the force adjustment screws labeled “Up Force” and “Down Force” on the opener’s housing. Turn the screw clockwise to increase force or counterclockwise to decrease it, depending on whether the door is struggling to open or close. Make minor adjustments and test the door each time to ensure it operates safely.
Conclusion
Adjusting a LiftMaster garage door opener can resolve many common issues, from incomplete closures to reversing doors. Following safety procedures and making small, careful changes to travel or force settings is essential.
When basic adjustments don’t resolve the issue, professional diagnosis is recommended. Knowing the signs of misalignment or control malfunctions helps prevent further damage to your system.
For reliable support with LiftMaster openers and other garage door needs, trust the experts at Roadrunner Garage Doors. We bring decades of experience, honest advice, and efficient solutions to every job.
End Note
Roadrunner Garage Doors is your trusted partner for expert commercial garage door opener repair in Dallas-Fort Worth and the surrounding areas. With a commitment to quality service and long-term reliability, our team is equipped to handle everything from simple fixes to complex commercial solutions. Learn more about our company values and experience by visiting our About Us page, and stay informed with helpful insights and tips from our blog.
We specialize in garage door repairs and maintenance for residential and commercial properties. Our commercial services include advanced garage door opener repair and installation, with trusted systems like LiftMaster for unmatched performance. We proudly serve a wide range of Texas areas, including our core Dallas service area and reliable garage door services in Arlington, TX.
Explore our photo gallery for a closer look at our craftsmanship. You can also follow us on Facebook, Twitter, and YouTube to stay connected with us for updates, tips, and customer stories. Whether you need repair, upgrade, or regular service, we’re here to keep your doors running smoothly and your property secure.
Roadrunner Garage Doors
8616 4th Street, Frisco TX 75034
+17134738168