

Knowing how to replace garage door spring can be a lifesaver when your garage door suddenly stops working. A broken spring can leave you stuck with a non-functional door, disrupting your routine and potentially causing a safety hazard. While replacing the spring yourself can save money, it’s not a simple task and requires precision, the right tools, and strict safety measures.
This guide provides step-by-step instructions to help you tackle the job effectively, from identifying the type of spring to safely installing the replacement. Whether your door uses torsion or extension springs, understanding their differences is critical to a successful repair. And remember, while this guide empowers you with the knowledge to perform a DIY fix, some situations may still call for professional help.
If you’re ready to tackle this repair, keep reading to learn about the tools you’ll need, crucial safety tips, and how to complete each step confidently.
Understanding Garage Door Springs: Torsion vs. Extension
Before starting the replacement process, it’s crucial to understand the type of spring your garage door uses. There are two main types of springs: torsion springs and extension springs.
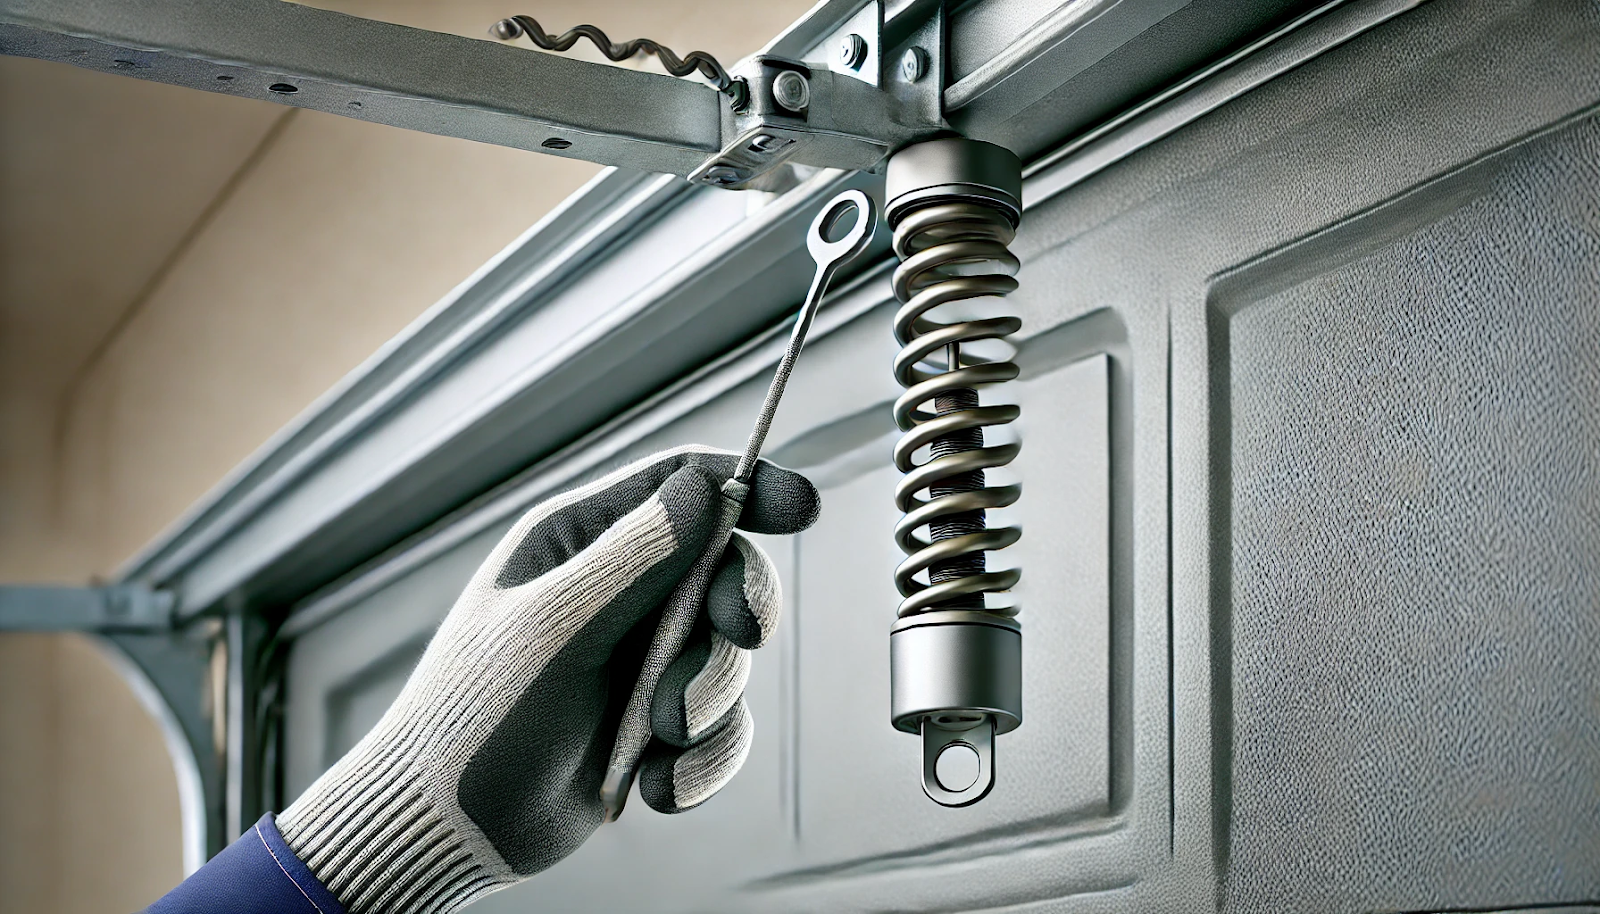
1. Torsion Springs
Torsion springs are mounted above the door on a metal shaft and work by winding and unwinding to lift and lower the door. They’re typically more durable and offer smoother operation than extension springs, and they’re commonly found in newer garage door models.
- Pros: Longer lifespan, smoother operation, and better safety mechanisms.
- Cons: More complex to install and replace.
2. Extension Springs
Extension springs are located on either side of the door and stretch as the door is lowered. They are usually found in older garage door systems.
- Pros: Simpler mechanism, easier to install and replace.
- Cons: More prone to snapping and can cause more damage if they break.
Knowing which type of spring your garage door uses is crucial because the replacement process and the tools required differ for each type.
Signs That Your Garage Door Spring Needs Replacing
Garage door springs are under immense tension and don’t usually break quietly. Here are some signs that indicate a spring might need replacing:
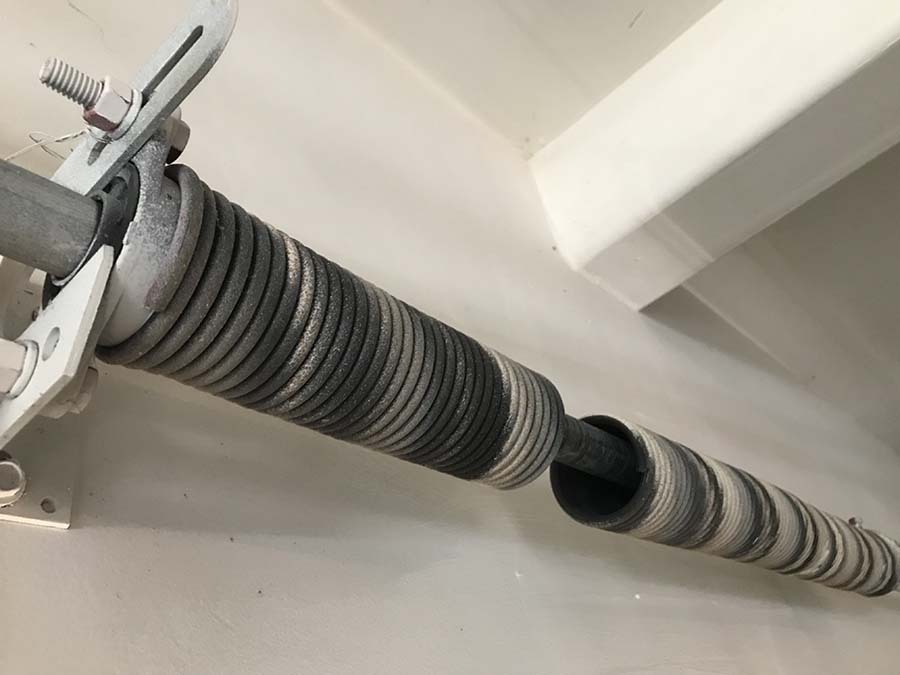
- Loud Bang: A loud, gunshot-like noise is often the first sign that a torsion spring has snapped.
- Door Won’t Open or Close Properly: If the door struggles to lift or won’t stay open, the spring might be broken.
- Gaps in the Spring: A visible gap in the coil is a clear indicator that the spring has snapped for torsion springs.
- Crooked Door: A broken extension spring can cause the door to appear crooked when it is being lifted or lowered.
Tools and Materials You’ll Need

Before you start, make sure you have the following tools and materials on hand:
- Replacement spring (make sure it’s the right size and type)
- Winding bars (for torsion springs)
- Adjustable wrench
- Clamps
- Ladder
- Safety glasses and gloves
- Tape measure
- Socket wrench set
- Marker or chalk
- Lubricant spray
- Stepladder or sturdy platform
Safety Note: Replacing garage door springs is dangerous. Wear safety glasses and gloves, and never stand directly under the spring or door while working.
Step-by-Step Guide: How to Replace Garage Door Spring
1. Disconnect the Garage Door Opener
Start by unplugging the garage door opener. This prevents accidental activation while you’re working and ensures your safety. Once unplugged, manually lift the door to the fully open position. Secure it with a C-clamp or vice grips on the tracks below the door rollers.
2. Release the Tension on the Springs
For torsion springs, use winding bars to unwind the spring tension carefully. Insert the winding bar into the winding cone and slowly rotate it to release the tension. Be cautious and maintain a firm grip on the bar, as the tension can cause it to snap back violently.
For extension springs, fully open the garage door to release the tension. Secure the door with clamps, then detach the lift cable from the spring pulley.
3. Remove the Old Springs
Once the tension is released, disconnect the spring from the center bracket. Remove the bolts holding the spring to the center bracket for torsion springs, then slide the spring off the torsion bar. Disrupt the safety cable and remove the spring from the track for extension springs.
4. Measure the Old Spring
It’s crucial to replace the broken spring with one of the same size and strength. Use a tape measure to measure the length of the old spring in its relaxed state. Also, note the wire diameter and the number of coils per inch. This information is essential when purchasing a replacement spring.
5. Install the New Spring
Slide the new spring onto the torsion bar (for torsion springs) or attach it to the track and safety cable (extension springs). Ensure the spring is securely attached and properly aligned. If you’re replacing both springs, replace one side before moving to the other to avoid confusion.
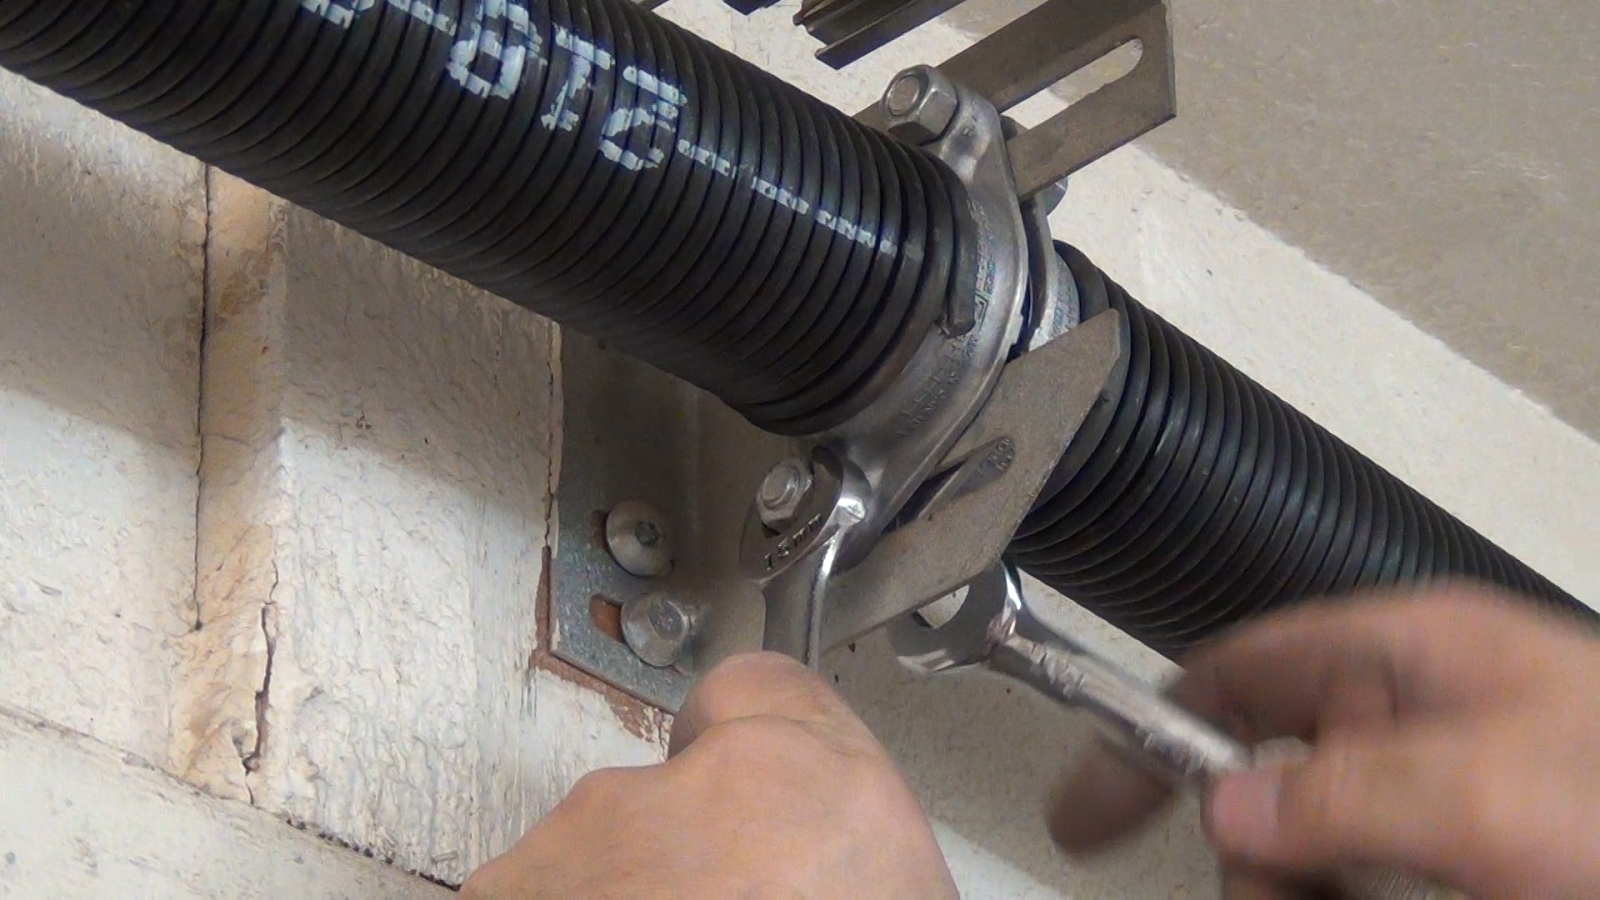
6. Wind the Torsion Spring
This step is critical and dangerous. Using winding bars, wind the torsion spring in the proper direction. You’ll need to add a certain number of turns (refer to the manufacturer’s instructions for specifics, usually around 30 to 36 turns for standard springs). Always maintain a firm grip and never remove the winding bar from the winding cone until the spring is secure.
For extension springs, once the spring is secured to the track, reattach the lift cable to the pulley and ensure everything is tight and in place.
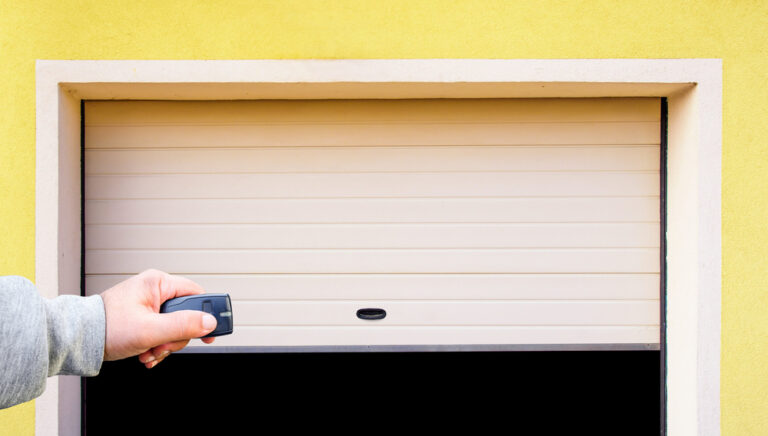
7. Reconnect the Garage Door Opener
Once the new springs are installed, carefully remove any clamps or vice grips holding the door open. Lower the door slowly to ensure it moves smoothly and is balanced. Reconnect the garage door opener and test the door using the opener. The door should open and close smoothly without jerking or resistance.

Advanced Troubleshooting Tips
Even with careful preparation and execution, you may encounter issues during or after replacing your garage door spring. Here are some advanced troubleshooting tips:
1. Door Doesn’t Stay in Place
If your garage door doesn’t stay in the open or closed position, the springs may not be balanced correctly. To fix this, make minor adjustments to the spring tension. This means adding or removing a quarter turn at a time for torsion springs.
2. Excessive Noise During Operation
If your garage door makes loud noises when operating, it may indicate that the springs are not lubricated properly or that the tracks are in trouble. To reduce friction, apply a silicone-based lubricant to the springs, rollers, and hinges. Then, check the tracks for debris or misalignment and fix any issues.
3. Door Moves Unevenly
An uneven door movement suggests that one of the springs may be weaker than the other or that there is an issue with the cables. Inspect the wires and pulleys for wear and replace them if necessary. If the springs are mismatched, you must replace them with identical ones.
Spring Safety Tips
Garage door springs are under extreme tension, and mishandling them can result in severe injury or even death. Here are some critical safety tips to keep in mind:
- Use the Right Tools: It is essential to use the correct tools, such as winding bars for torsion springs. Improper tools can slip or break, leading to accidents.
- Avoid Standing Directly in Line with the Spring: When working, always stand to the side of the spring. If the spring were to snap, you want to be out of its path.
- Don’t Rush the Job: Take your time. Rushing through the process can lead to mistakes, which can be costly or dangerous.
- Secure the Door Properly: Ensure the door is securely clamped in place before releasing the tension on the springs to prevent the door from falling unexpectedly.
DIY vs. Professional Replacement: A Detailed Comparison
While replacing a garage door spring yourself can save you money, it’s essential to weigh the pros and cons of DIY versus hiring a professional.
1. Cost Comparison
- DIY: Replacing a spring yourself typically costs between $30 and $100, depending on the spring type and quality. If you don’t already own the necessary tools, add an additional $20- $50.
- Professional: Hiring a professional for garage door repair will cost between $150 and $350, depending on the complexity of the job and your location.
2. Time and Effort
- DIY: The replacement process can take 2-4 hours, depending on your experience level and the spring type. There’s also a learning curve, as you must research the correct procedures and safety measures.
- Professional: A skilled technician can complete the job in about an hour, saving you time and the hassle of learning the process.
3. Safety Risks
- DIY: There is a high risk of injury if you’re unfamiliar with handling high-tension springs. One wrong move can lead to severe injuries.
- Professional: Professionals are trained to handle these risks and have the right tools and experience to complete the job safely.
FAQs on How to Replace Garage Door Spring
How many times do you tighten a garage door spring?
You typically tighten a garage door spring by winding it about 30 to 36 quarter turns for torsion springs. This depends on the door’s height and spring type. Always follow the manufacturer’s guidelines or consult a professional for safety.
How can I make my garage door spring last longer?
To extend the life of your garage door spring, perform regular maintenance, including lubricating the spring with high-quality oil and ensuring balanced door operation. Avoid excessive garage door use and fix any issues promptly to prevent overstraining the spring.
How do you add tension to a garage door spring?
To add tension to a torsion spring, turn the winding cone in the direction that increases tension, which is usually clockwise. Use a winding bar to rotate the spring and adjust it according to the manufacturer’s instructions.
How to tighten a spring?
To tighten a garage door spring, use a winding bar and rotate the spring in the direction indicated by the spring type. For torsion springs, tighten by turning the winding cone clockwise. It’s best to consult a professional to ensure proper adjustment and safety.
Which direction to wind garage door spring?
For most new garage doors, the correct direction to wind a torsion spring is clockwise for the right side and counterclockwise for the left. This ensures proper tension and balance for safe door operation.
Conclusion
Replacing a garage door spring is no small task, but understanding how to do it correctly can save you time and money and give you the satisfaction of a job well done. Every detail matters from identifying the type of spring and gathering the necessary tools to carefully following each step in the replacement process. Always prioritize safety and take your time to ensure the job is done correctly.
Whether you decide to tackle this project yourself or hire a professional, knowing what’s involved will help you make an informed decision and appreciate your garage door’s mechanics. With the right approach, you can restore your garage door to complete working order and enjoy smooth, reliable operation for years.
End Note
At Roadrunner Garage Doors, we understand the frustration of dealing with a broken garage door spring. That’s why we offer expert garage door repair services, including spring replacements, keypad fixes, and safety upgrades like garage door panels and remotes. Whether it’s a simple repair or an emergency, we’ve got you covered across Frisco, McKinney, Allen, and more. Our team also proudly serves major cities like Dallas, Houston, and Austin.
Learn more about our services on our About Us page, check out our latest insights on our Blog, and explore our Photo Gallery for inspiration. From routine maintenance to emergency repairs, we’re here to keep your garage door in perfect working order. Visit Roadrunner Garage Doors today to schedule your service!


